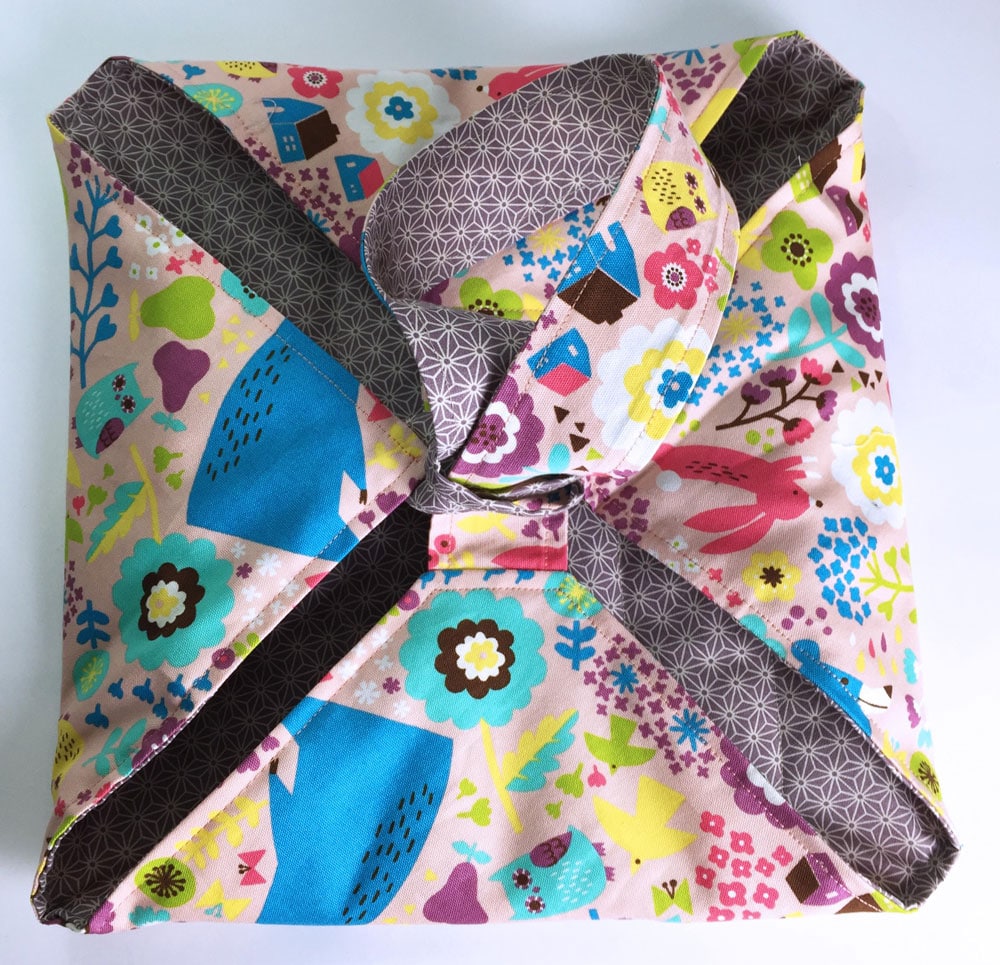
Today we offer you a simple guide to making an easy pie bag. You will need about 50cm of each colour of your fabrics for the outside and inside, including the handle and buckles.
The material
- The fabrics used in this tutorial are no longer available on our store, but you could very well use this following selection:
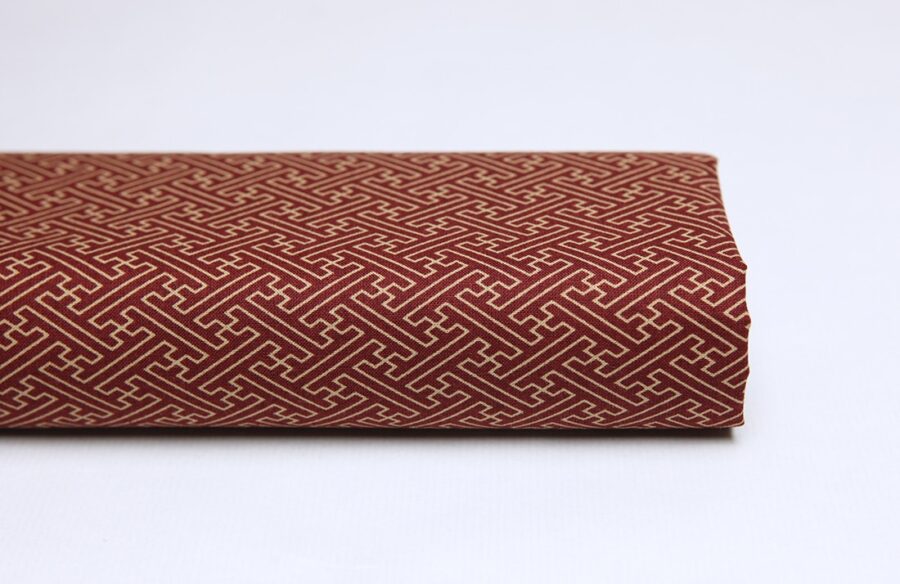
Japanese fabric Sayagata red background 1M
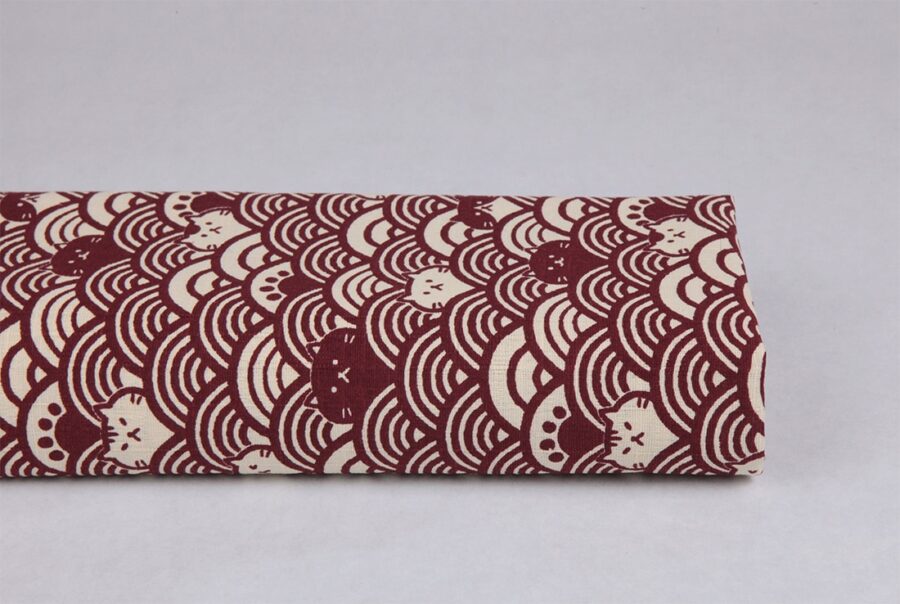
Maneki Neko red Seigaiha fabric
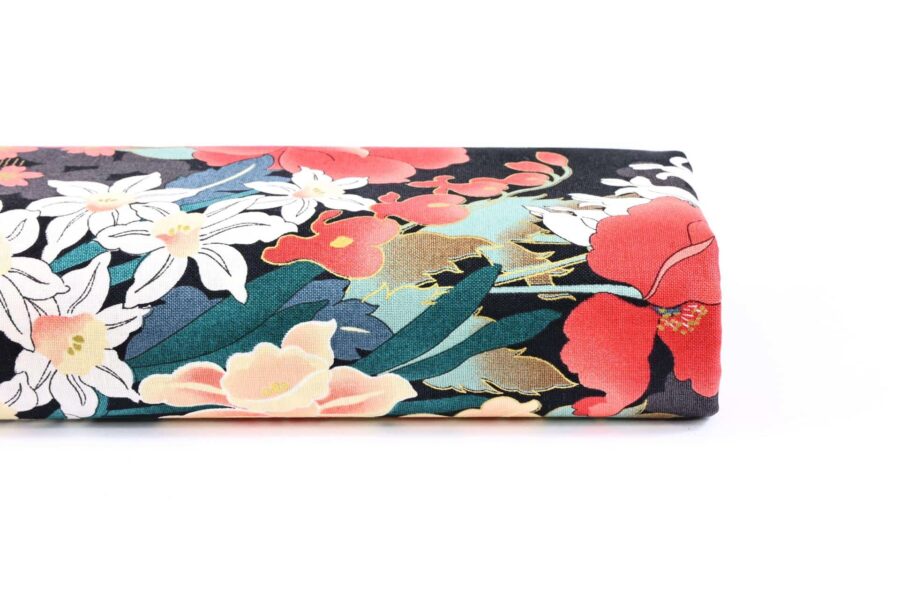
Japanese fabric garden of flowers black background
- A piece of polyester foam for padding. This gives a nice fluffy look and will protect your dish and keep the heat in a little more.
- Sewing thread in the same colour range as your chosen fabrics.
- A sewing machine, a good pair of scissors and pins.
Please note that for a dish with a diameter of about 30cm, “a” is 58.6cm and “b” is 5cm. You will find these measurements on the diagram in .pdf format at your disposal.
This tutorial for making your own pie bag is for everyone, even beginners. It’s really easy to sew, you’ll see.
The making of the easy pie bag
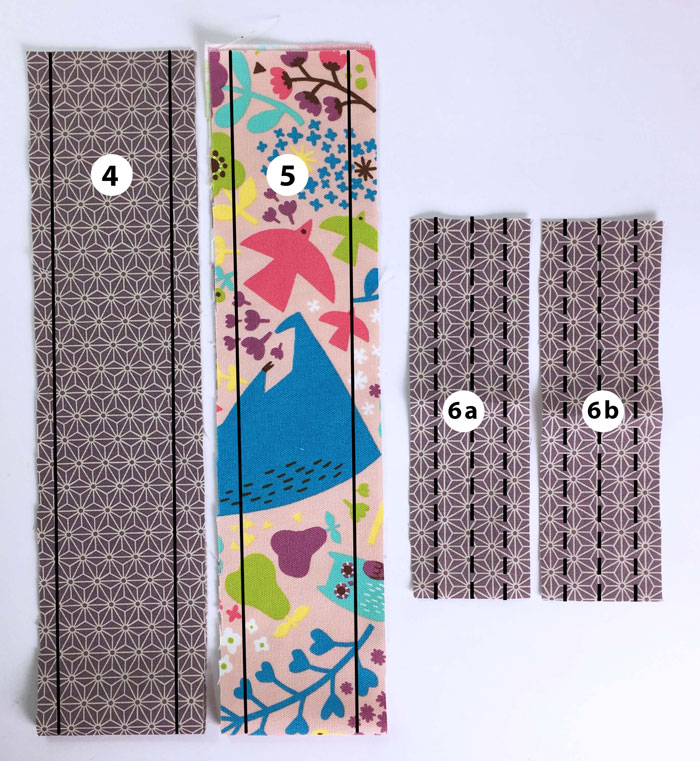
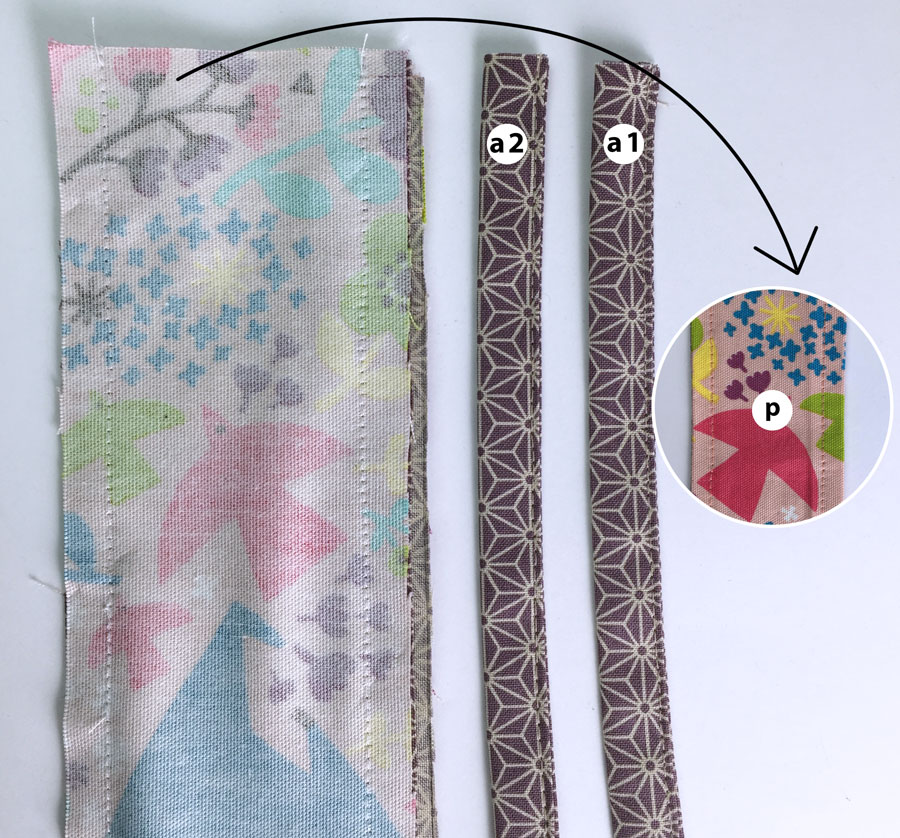
The two parts p1 and p2 will be the two pieces that make up the handle of your pie bag. Here p1 will be the outside and p2 the inside.
a1 and a2 will be the two loops through which the handle will pass. You will understand later how this works.
Parts 1 and 2 will be the basis of your design.
And finally, part 3 is the padding for the bag. A simple polyester foam is enough.
Step 01
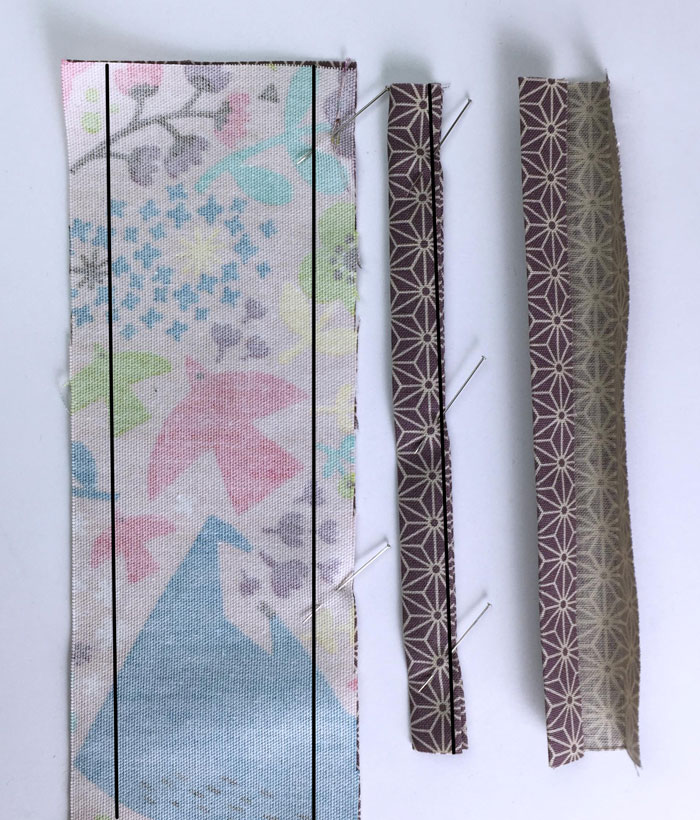
For the loops 6a and 6b, nothing very complicated, you just have to fold the two pieces of fabric like a bias and sew all along as on the picture.
For the handle, use your two pieces of fabric p1 and p2 and sew them right sides together following the lines, then finally turn over what you have just obtained to have your piece p
Step 02
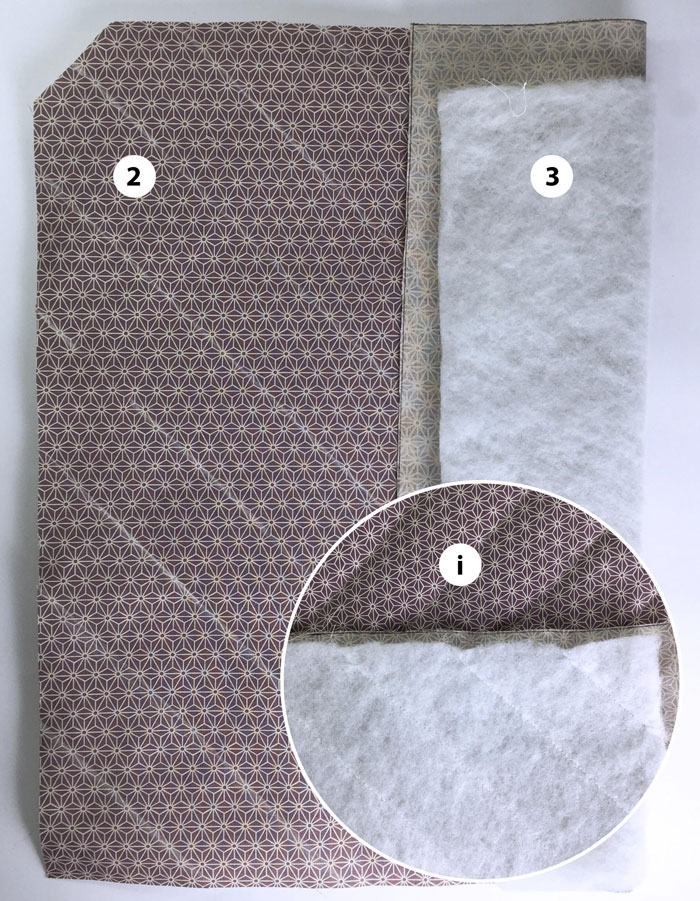
To start you will need to sew your upholstery piece 3 with the inner fabric 2. It’s up to you how you want it to look. We have made parallel lines on the bias, but you can also make a grid for a honeycomb or even a spiral side! So you have your i part
Step 03
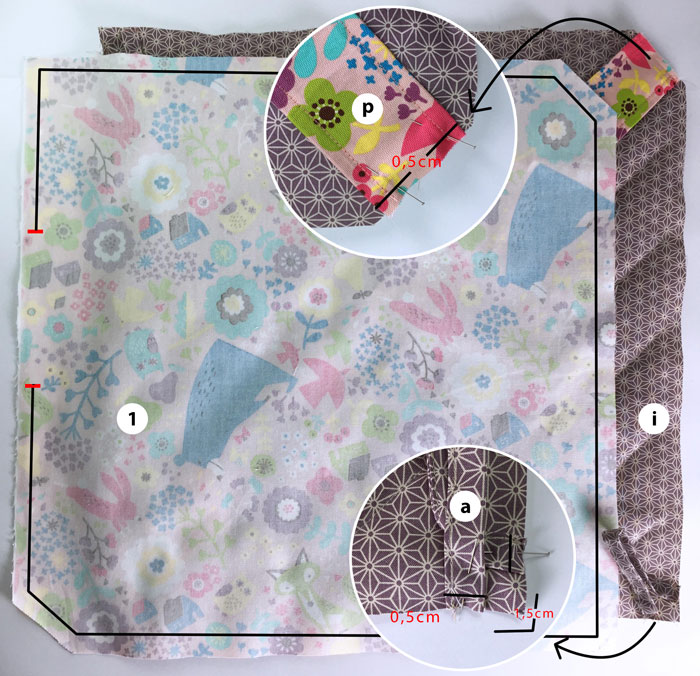
At this stage we will assemble the handle and loops and finalise the bag with the sewing of the outer fabric.
For the handle p you will need to sew it to each bevelled end of your piece i . The seam should be 5mm from the edge. The same goes for the little loops which you will need to sew into the right angles, as shown in the picture.
To sew the outer fabric 1 you will need to sew it right sides together with your handle and loops already sewn on your fleece piece i.
Step 04
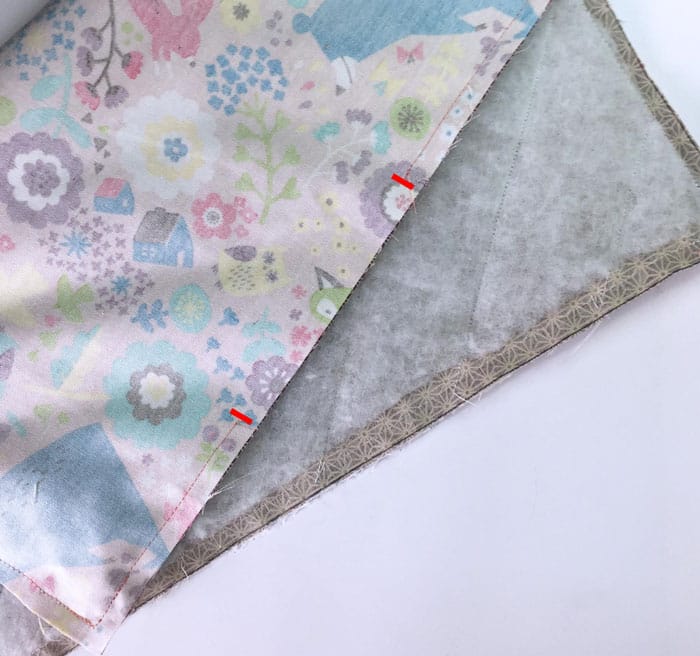
Stitch 1cm from the edge of the bag leaving an opening of a few centimetres as shown in the picture. This opening will allow you to turn your bag inside out.
Step 05
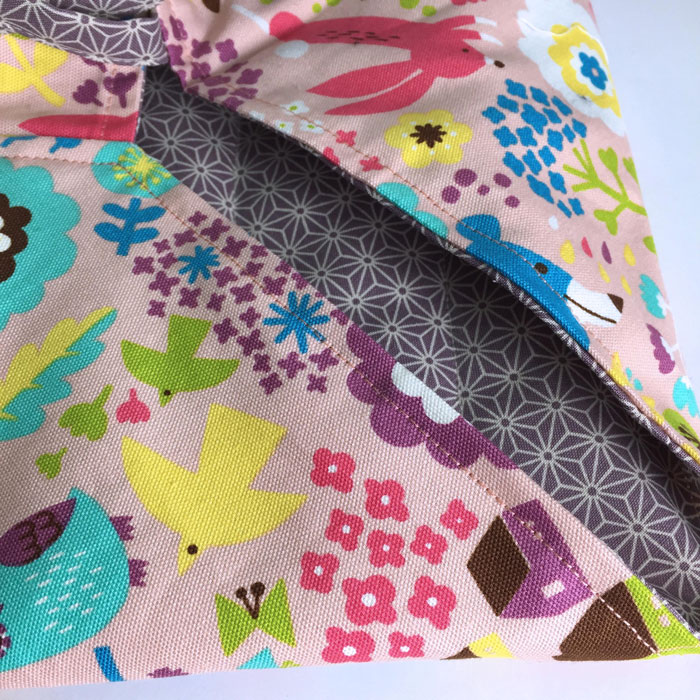
All that’s left to do is finish your pie bag by turning it inside out through the opening you left beforehand and closing it with a simple hand stitch.
Step 06
Feel free to sew around the edge of your bag about 5mm from the edge to reinforce it and give it a nicer look. That’s it!
Congratulations, you’re done!
Are you stuck somewhere? Don’t hesitate to ask your questions in comments so that I can help you!
If you liked this tutorial, you can share it on social networks and subscribe to our newsletter by filling in the form below, you will receive all our future tutorials directly in your mailbox!

